|
3/4inch MDF all laid out
|
|
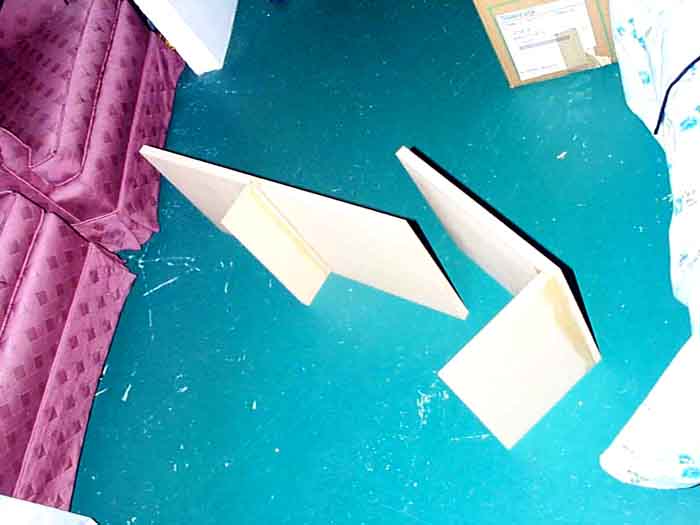
Driver baffle with brace and port assembled
|
|
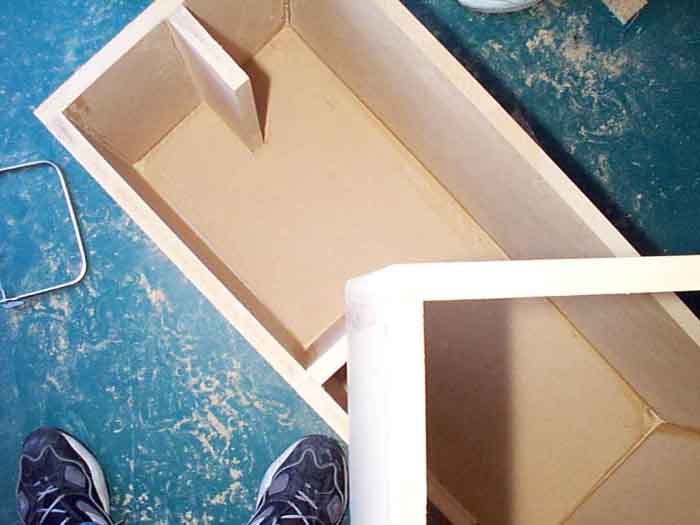
Semi-assmbled box (trying to show smoothed over port enge, and my shoes ;))
|
|
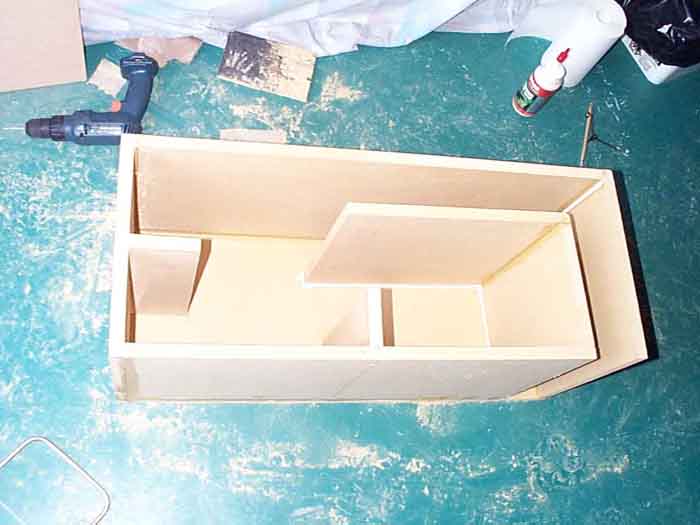
Pic of the inside of the box before the top gets glued on.
You can see the 2 braces (one on the side, one bracing the front baffle), and the length of the port.
|
|
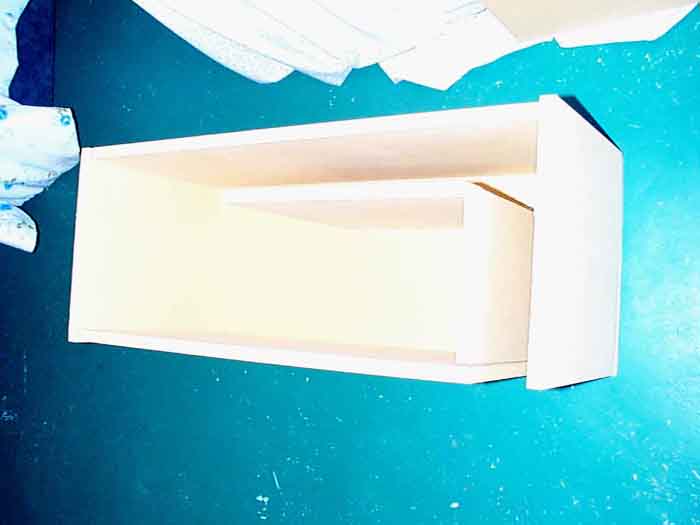
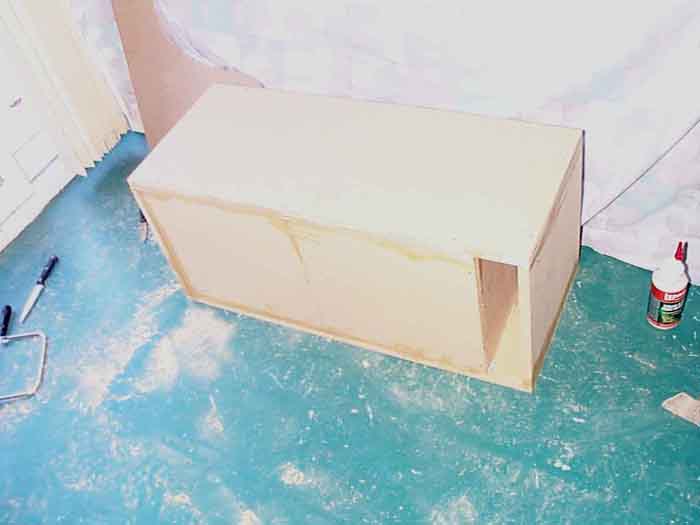
Box with the top glued on.
We put 2 pieces of 2x4 MDF, the 2 XLS's and other stuff on top of the box after taking the pic to make sure all the glue holds nicely. Note the nice 3inch wide 13.5inch tall port :D
|
|
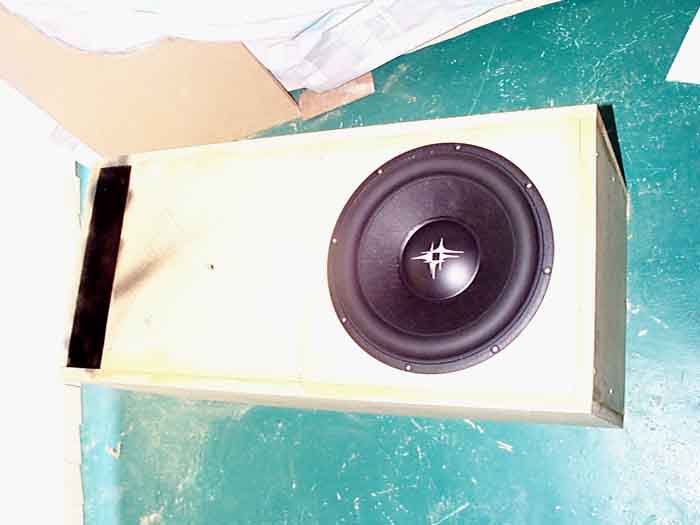
Pic of 1 woofer in it's place.
|
|
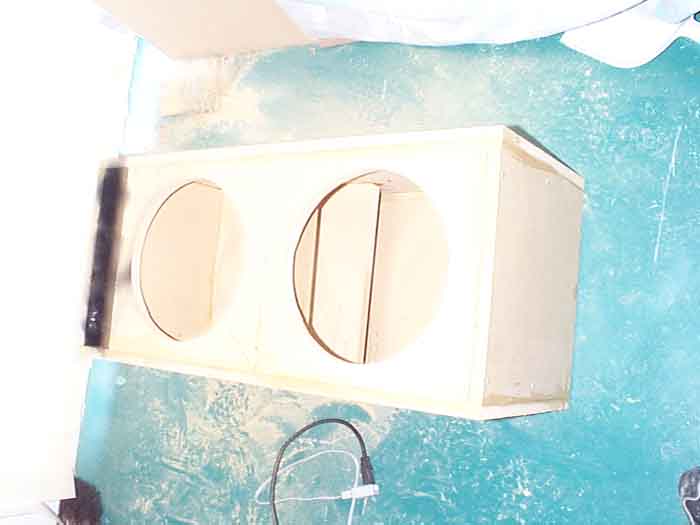
Pic of the 2 woofer holes cutout.
The brace between the 2 woofers, and the edge of the port can be seen inside.
|
|
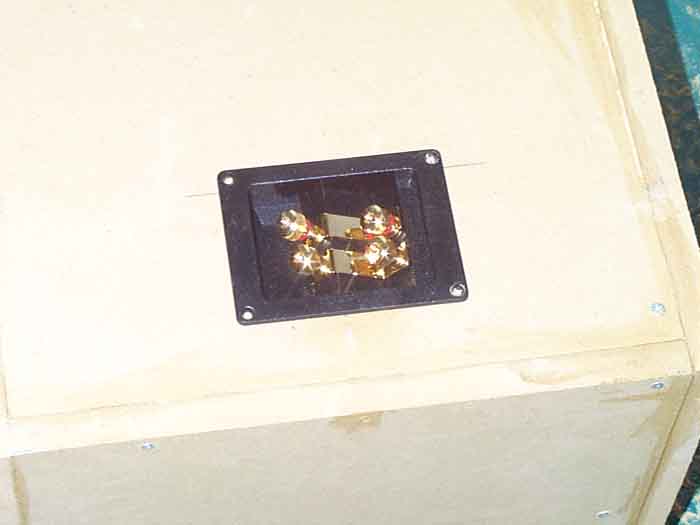
Pic of the nice gold terminals (hole cutout, not screwed in yet)
|
|
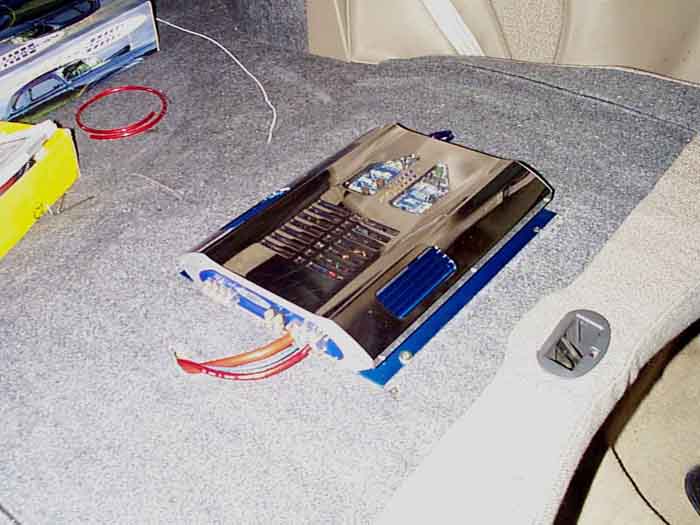
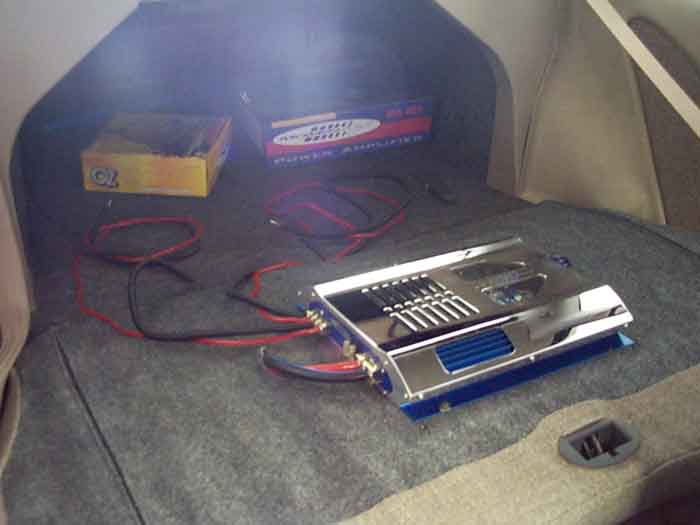
Taking you away from the sub box, here's the amp installed
|
|
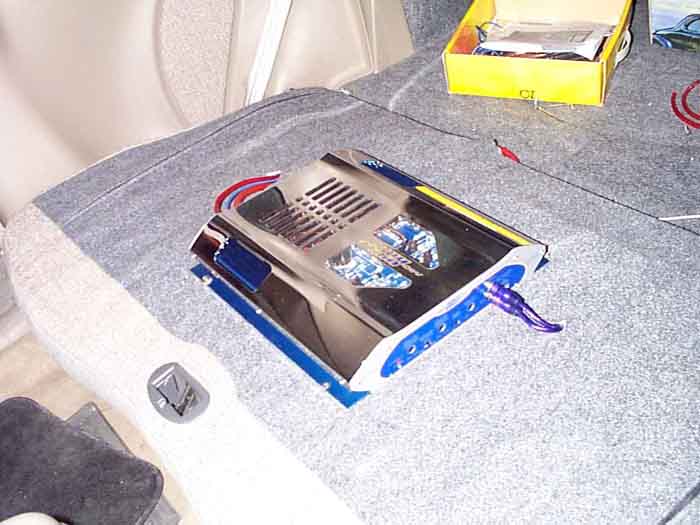
Otherside of the amp
|
|
Split-loom installed over the negative speaker wires and the ground wire.
Plus the ends of the speaker wires were dipped in solder so they dont come apart; super quick connection.
They are 10g, just like the wires on the inside of the box running to the subs themselves.
Very thick and nice :)
(no flash, 1/8th second exposure, and bad lens flare too :()
|
|
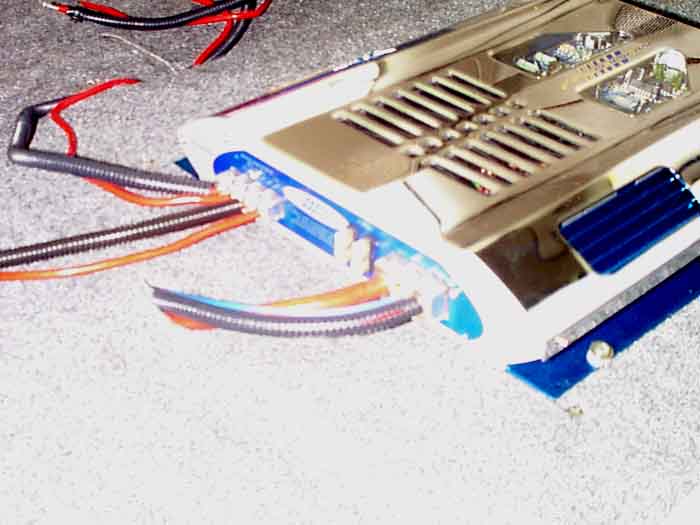
Closeup of the above.
Nice and fat 4g power wire straight from the battery.
|
|
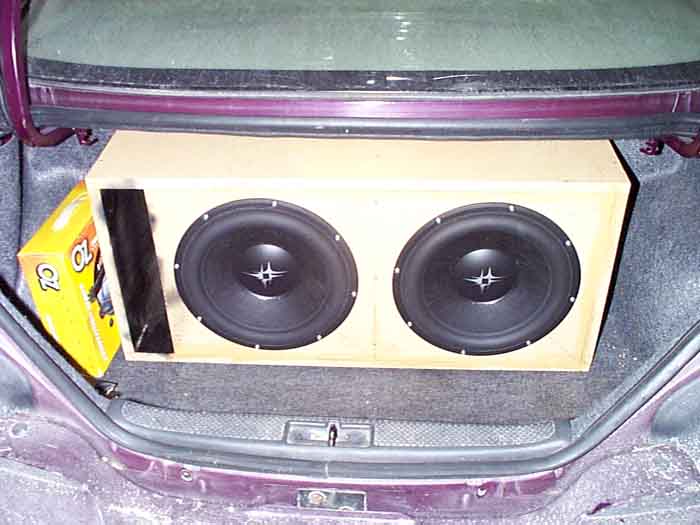
Now what you've been waiting for; the completely built sub box in his trunk.
Only thing left is the carpet!
I don't have pics of them, but we did use $0.20 T-nuts bought from a local Home Depot.
They work really nicely, and will hold the subs down really hard to the carpet.
Good thing the woofers have such a thick sold metal frame edge :D
|